From PowerPoint to E-Learning: A Step-by-Step Guide to Better Engagement
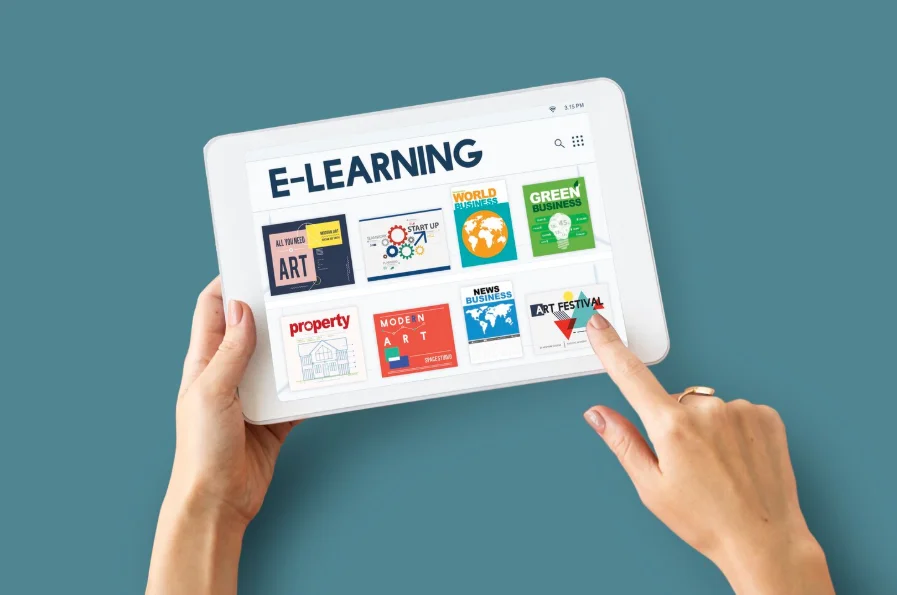
Photo: Freepik.com, rawpixel
PowerPoint presentations have been a staple in classrooms, training sessions, and corporate meetings for decades. They’re easy to create, familiar to most people, and can convey a lot of information in a short time. The problem? They’re often static, linear, and far too easy for learners to passively click through without truly engaging.
In today’s digital learning landscape, simply uploading a slide deck isn’t enough. If you want learners to absorb and retain your content, you need to transform those slides into a more interactive, dynamic format. The good news is that with the right approach, your existing PowerPoint can quickly become a fully interactive e-learning experience that keeps learners interested from start to finish.
Step 1: Review and Restructure Your Content
Start by looking at your PowerPoint with a critical eye. Is it overloaded with text? Does it rely heavily on bullet points? Is there a logical flow from one slide to the next? Effective e-learning content should be broken into smaller, more digestible sections. Group related slides into modules or lessons, each focusing on a single learning objective.
Step 2: Replace Static Slides with Interactive Elements
One of the main weaknesses of PowerPoint is its passivity—learners can breeze through slides without engaging with the material. To combat this, incorporate interactive elements such as:
- Clickable hotspots on images to reveal more information
- Scenario-based decision points that change the learner’s path
- Short quizzes after key sections to check understanding
- Animated sequences that explain complex processes step-by-step
These features encourage active participation, which significantly improves retention.
Step 3: Incorporate Multimedia for Variety
While slides can include images and videos, e-learning platforms allow for richer integration of multimedia. You can embed explainer videos, audio clips, and animations directly into lessons, creating a more immersive experience. Variety keeps learners curious about what’s coming next, preventing fatigue from long, uniform slide sequences.
Step 4: Personalize the Learning Experience
Not all learners process information the same way. Some prefer visual explanations, others benefit from written details, and some learn best by doing. By converting your PowerPoint into an adaptive e-learning format, you can offer different learning paths or additional resources for those who need extra support. Tools like Mexty.ai make it easy to take a static deck and turn it into a course that adapts to each learner’s needs without requiring complex manual setup.
Step 5: Ensure SCORM Compliance for LMS Integration
If you plan to host your course on a Learning Management System (LMS), you’ll need to make sure it’s SCORM-compliant. This ensures that your course works smoothly with the platform and allows you to track learner progress, completion rates, and quiz scores—something you can’t do with a standalone PowerPoint.
Step 6: Test Before You Launch
Before publishing, test your converted course as if you were a learner. Click through every element, take the quizzes, and watch the videos. Make sure navigation is smooth, content loads quickly, and the experience is free of technical issues.
Step 7: Collect Feedback and Improve
Once your course is live, encourage learners to share feedback on what they enjoyed and where they struggled. Use this feedback to improve future versions, adding new elements or clarifying complex sections.
Final Thoughts
Converting a PowerPoint into an engaging e-learning experience doesn’t require starting from scratch. By restructuring your content, adding interactivity, incorporating multimedia, and personalizing the learning path, you can breathe new life into old slides and dramatically improve learner engagement. The result is a course that doesn’t just present information—it invites learners to actively connect with it.